
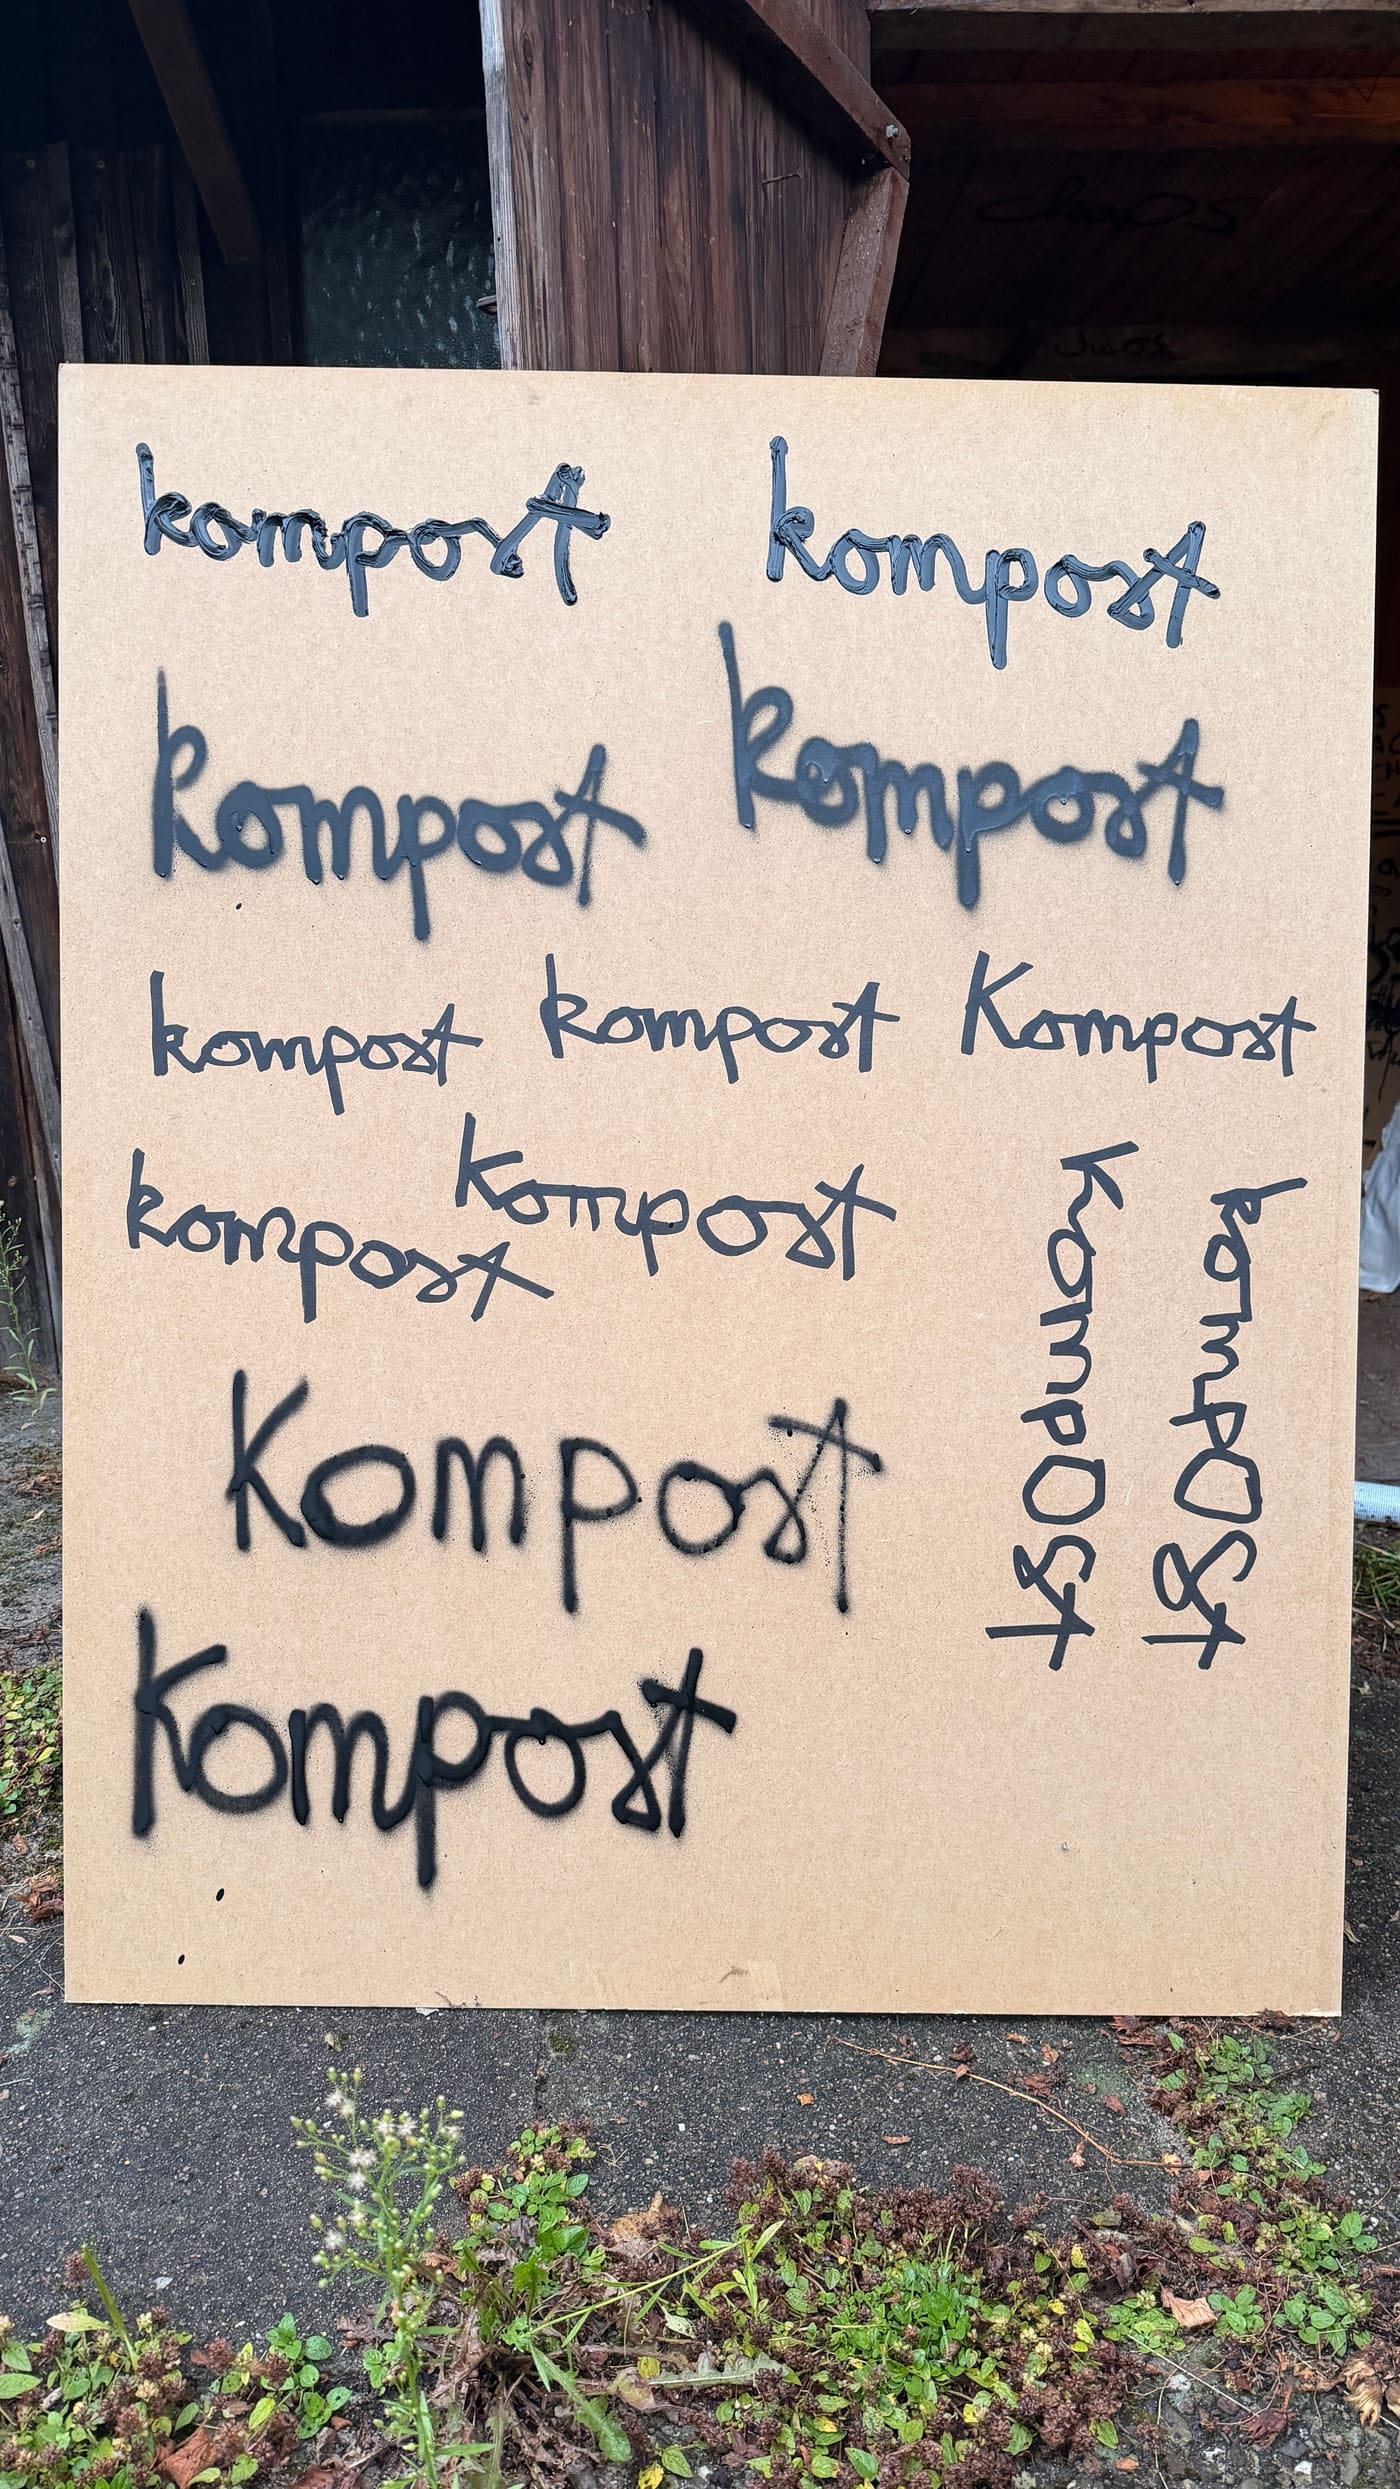
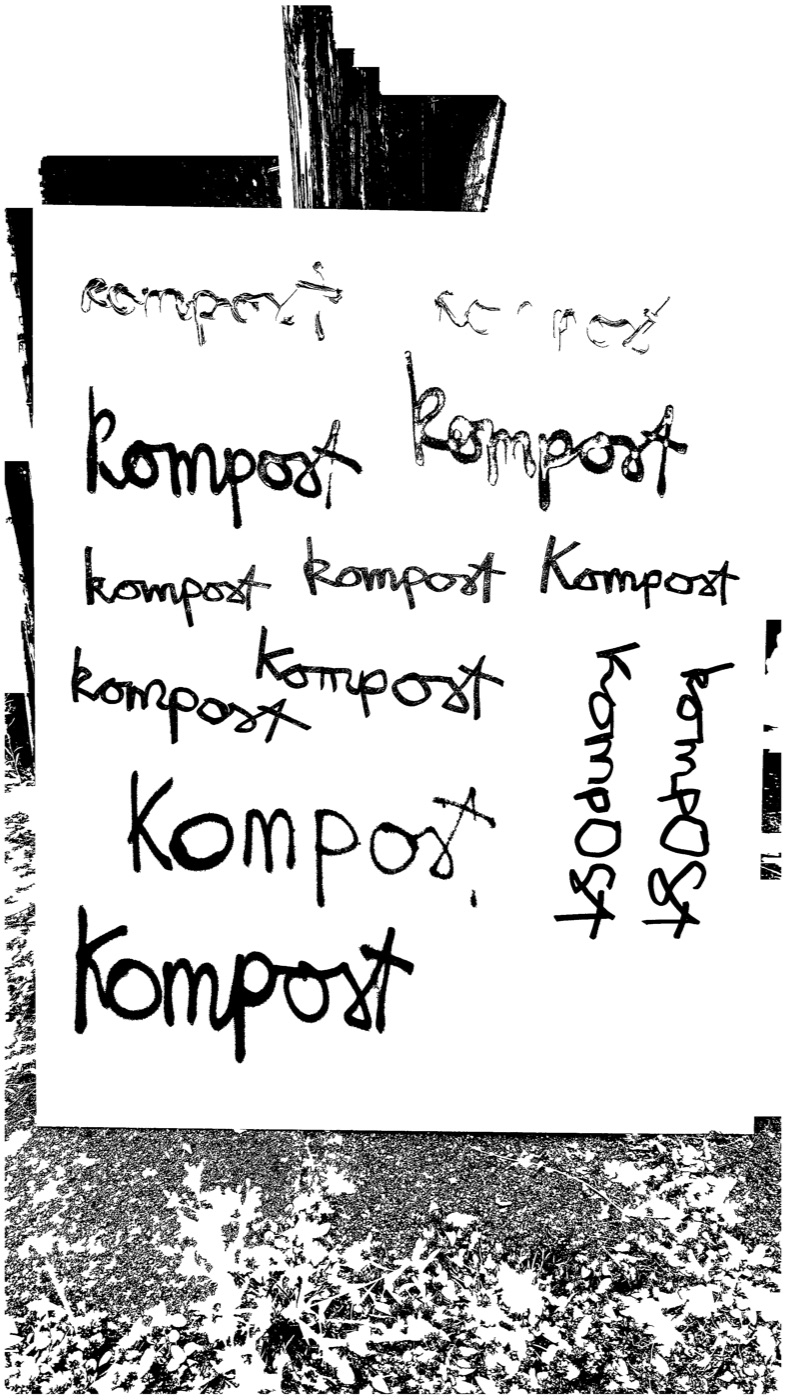
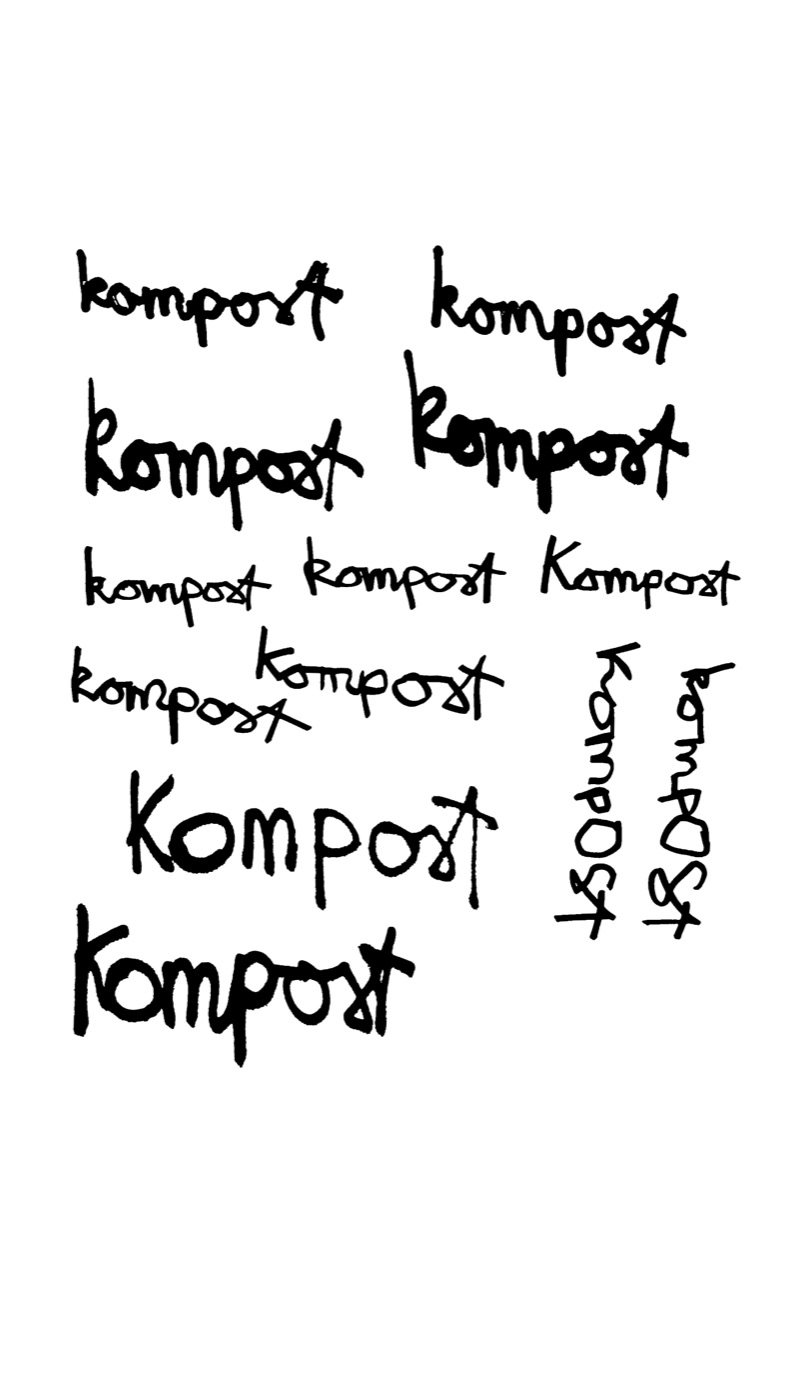
What makes a useful stencil.
A tattoo stencil is not merely a black-and-white copy. Outer contours, essential inner lines and orientation marks must stay readable while skin, paper texture, shadows and camera noise disappear.
Front-facing drawings with even light work best. With photographs, decide which visual details should become actual tattoo lines before tracing.
Suitable source material
- Ink or fineliner on light paper
- A high-contrast motif without motion blur
- A medium- or high-resolution scan
- No hard reflections across important lines
Step by step.
- Load the image and begin in result view.
- Adjust black level, contrast and brightness until all intended lines are present.
- Remove isolated marks or unwanted regions with the cleanup option or lasso.
- Open vector view and inspect outer contours, counters and narrow gaps.
- Smooth only visible raster steps and simplify Bézier curves conservatively.
- Export the format that fits your next production step.
Vector Boy cannot decide which lines should be tattooed. Always compare the result with the original and review the artwork professionally before use.
Choose the right export.
PDF is useful for controlled print output, SVG for modern design and production software, EPS for traditional workflows, DXF for contour-based CAD and laser processes, and PNG for the cleaned raster result.
Frequently asked questions
Can Vector Boy turn shading into dotwork?
No. Dotwork or hatching must already exist as visible dots or lines in the source image.
Why do very fine lines disappear?
Raise the black level carefully or reduce brightness, then compare with the original before increasing smoothing.