
What happens in between.
The basic idea is simple. Vector Boy first reduces an image to black and white, then traces that result with a vector thread. The important part is the step in between. A photo contains thousands of brightness values, colour shifts, reflections and texture. The tool has to decide what belongs to your shape and what is just background.
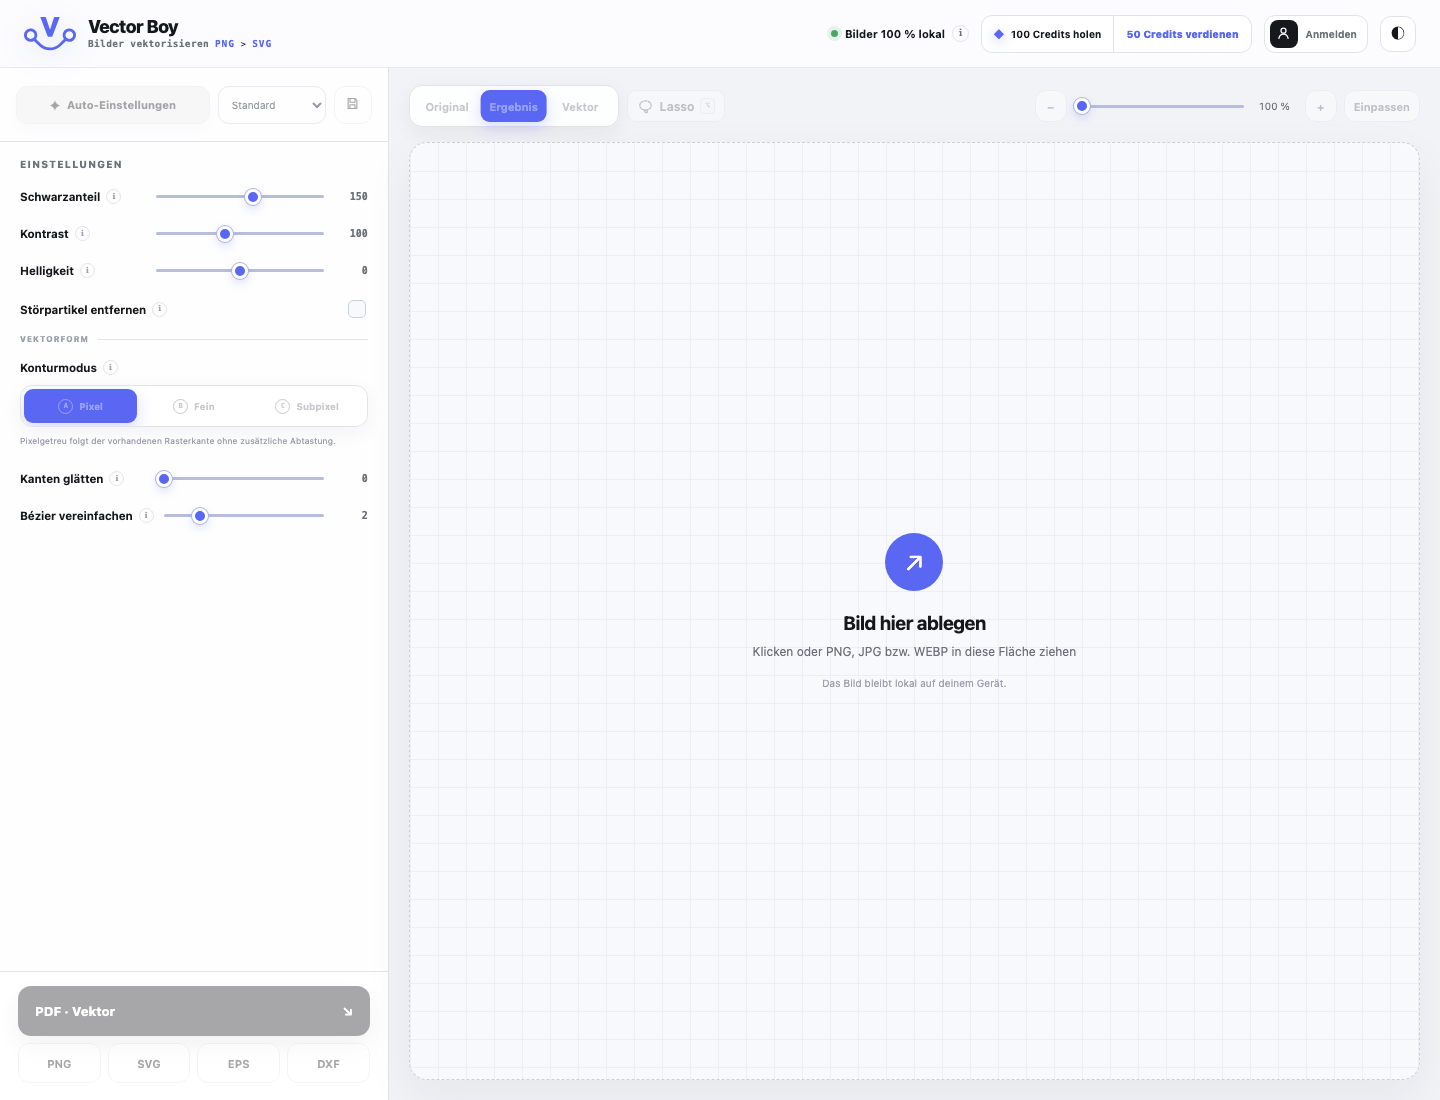
Black level, contrast and brightness give you control over that decision. Once the black shape looks right, contour mode, smoothing and Bézier simplification decide how closely the final path should follow it.
The three views.
The result can be split into three simple stages: Original, Result and Vector. You can jump between them at any time.
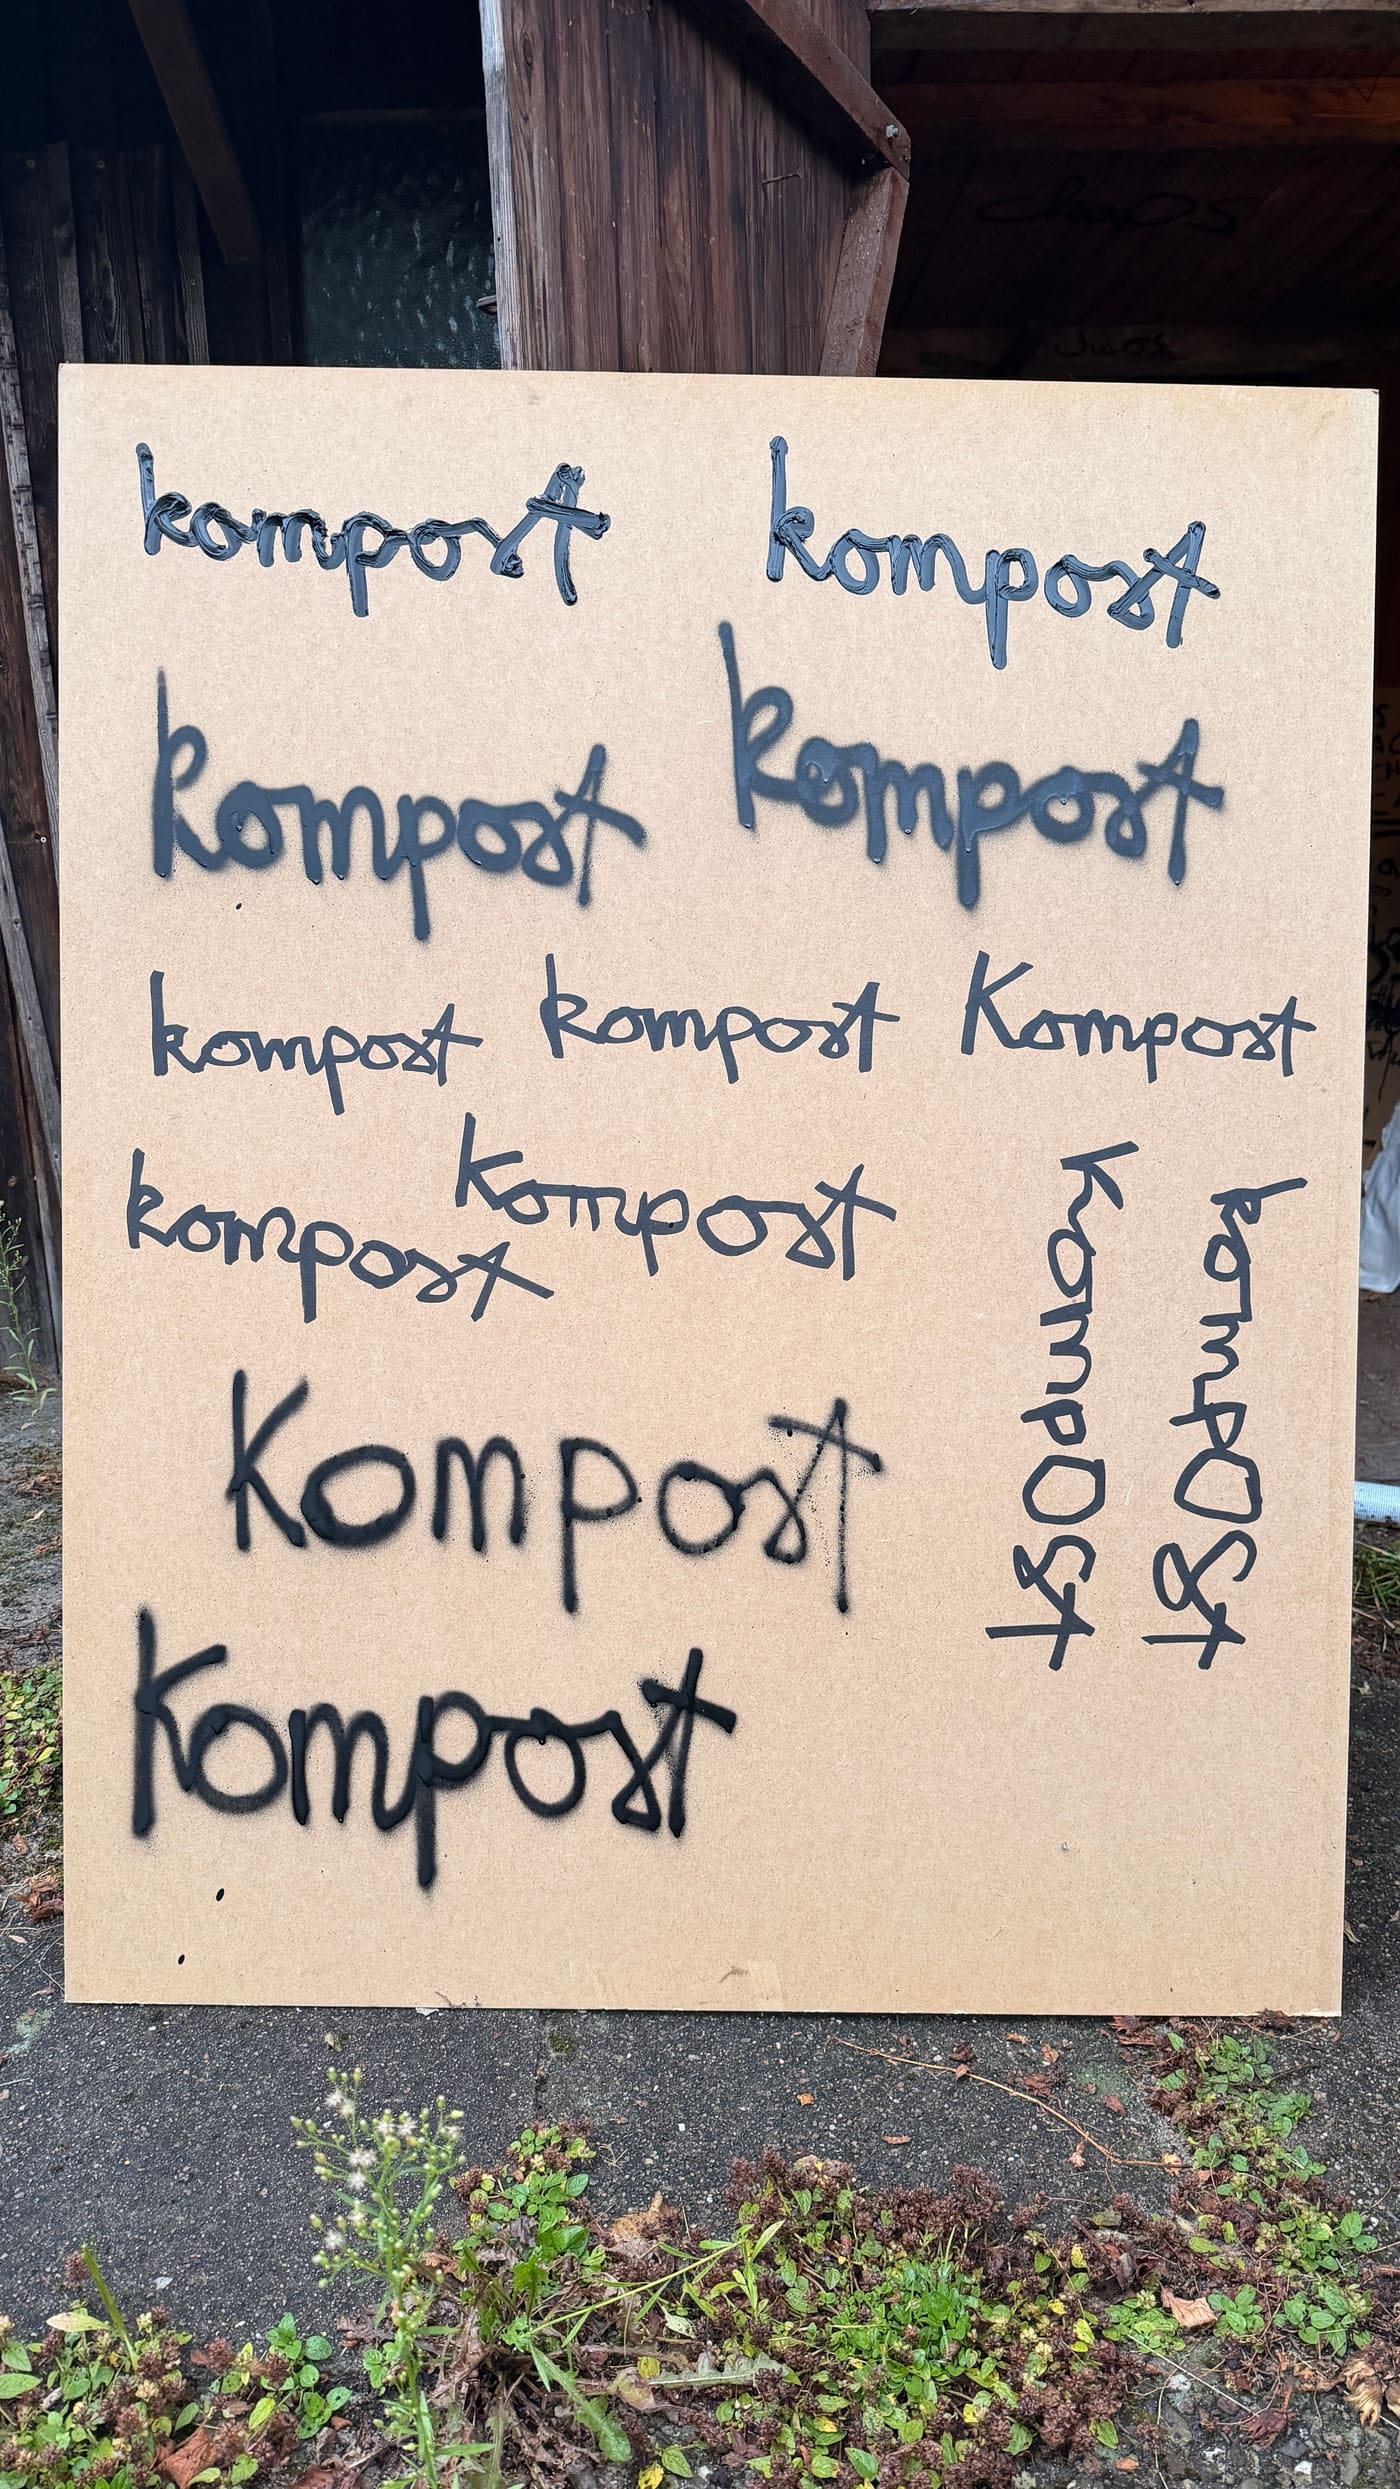
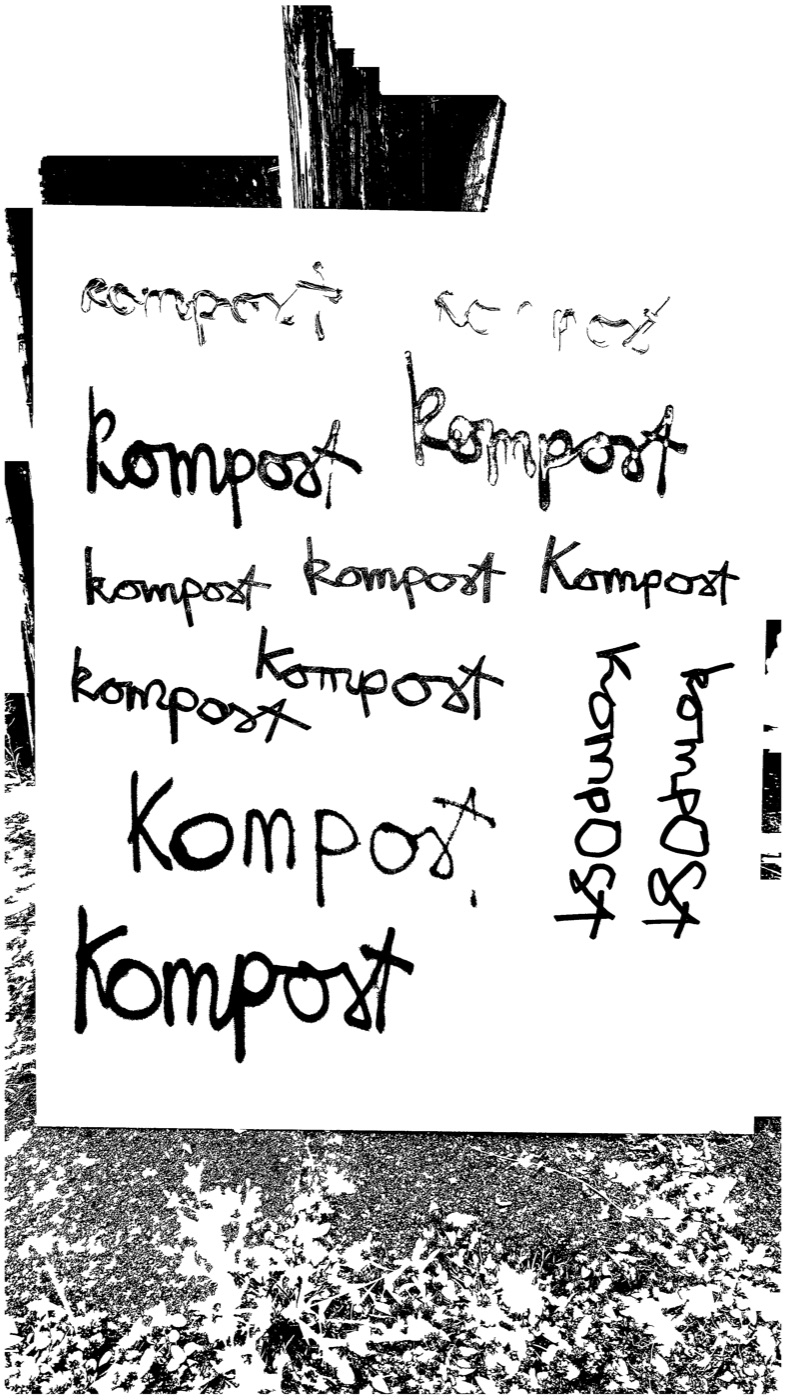
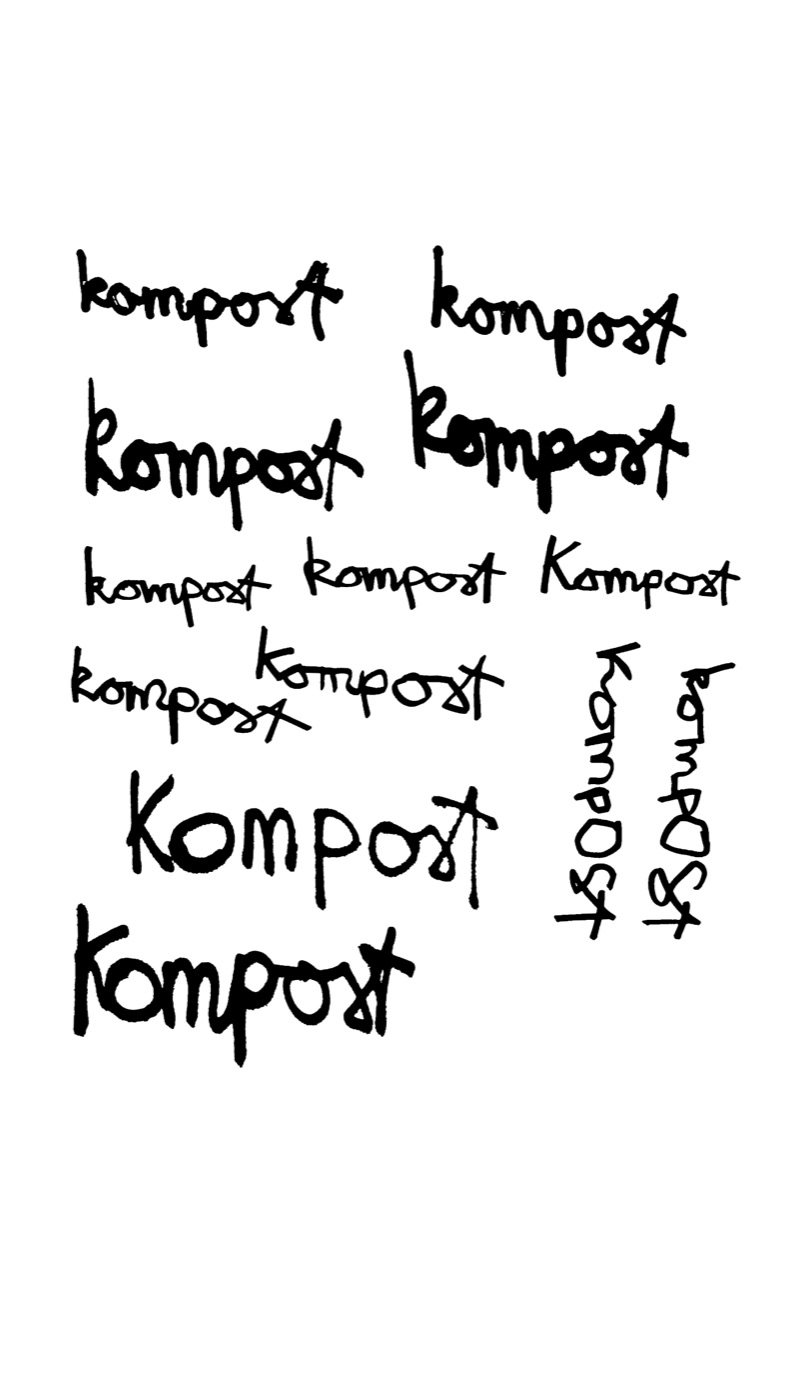
Original is the image exactly as you loaded it. Result is the black and white image after black level, contrast, brightness, particle removal and your lasso edits. Vector is the final path version. It adds contour mode, edge smoothing and Bézier simplification to the result.
- Original
- Use this to check whether a faint line really exists in the source or whether it is only a processing artefact.
- Result
- This is where you judge the separation. Is all important ink black? Is the background white? Are small intentional marks still present?
- Vector
- This is the export geometry. Zoom in on curves, corners and counters before downloading.
The controls,
without the fog.
I went through the processing code for this section. This is what each setting changes, where it acts and when I would leave it alone.
Black level
This is the actual threshold. Vector Boy first turns every pixel into a brightness value from 0 to 255. Anything darker than your setting becomes black. Move right to rescue faint strokes, but eventually you will also pick up the paper texture. I set it as high as necessary, not as high as possible.
Contrast
Contrast pulls light and dark values further apart around middle grey before the black and white split happens. At 100 the image stays neutral. Higher values make dark lines darker and light areas lighter. It works well on matte photos, but no contrast control can fully repair a hard reflection.
Brightness
Brightness moves all tonal values together. A positive value makes the photo lighter, so fewer pixels end up black. A negative value brings more into the motif. I mainly use it when the complete photo is too bright or too dark. Black level is more precise for individual weak strokes.
Remove particles
Vector Boy looks for small black islands that are not connected to a larger shape and removes them from the mask. Connected lettering stays untouched. Small dots can be intentional, of course. Think of an i, a star or spray texture. In that case I leave this off and clean up with the lasso.
Pixel
Pixel follows the finished black and white mask directly along the raster edge. A stair step stays a stair step. That is correct when the pixels are part of the design or when you want as little interpretation as possible. For deliberately rough artwork this is often the most honest mode.
Fine
Fine enlarges the source for contour detection and samples the shape with more image points. Small steps are described more accurately without inventing a new curve. For clean screenshots, logos and already smooth artwork this is usually the best place to start.
Subpixel
Subpixel does not limit the contour to whole pixel edges. It estimates where the threshold is crossed between neighbouring pixel centres. Curves and diagonal lines become calmer. Large images take a little longer because there is considerably more calculation involved.
Smooth edges
This control works on the detected contour. It removes tightly packed stair step points and averages gentle transitions. Real corners receive more protection than curves. Vector Boy also compensates for area changes, so the form does not simply become thicker or thinner. Small values are normally enough.
Simplify Bézier
This is no longer about black and white. It controls how many points remain in the final path. Vector Boy removes anchors while the new line stays within a small tolerance of the old form. High values create lighter paths but can eat small corners and tight counters. I start at 2 and zoom in.
Lasso
Draw around anything you want to remove. Hold Option while drawing and the logic flips, so only the enclosed area remains. The selection is stored relative to the image size, which keeps it in the right place for export. Command and Z takes the last step back.
My usual order.
- Load a JPG, PNG or WEBP and stay in Result view.
- Move black level until all important strokes are present. Then use contrast and brightness for the overall tonal balance.
- Only enable particle removal when the source contains many small isolated marks.
- Use the lasso for anything the automatic separation cannot know.
- Switch to Vector, choose a contour mode and keep smoothing and simplification low at first.
- Zoom in, check closed shapes and counters, then export PDF, SVG, EPS or DXF. PNG downloads the Result view.
The image processing happens in your browser. The source is not uploaded for vectorization. Command and Z takes back every local editing step.